Ultrasound cleaner’s manual
Preparation
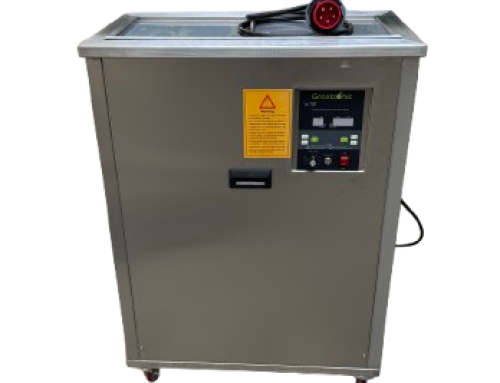
1. Place the cleaner on a flat.
Clean the surface of the generator where the cooling fans will receive adequate ventilation and ensure all controls are set to off.
Also, ensure the drain tap is in the closed position.
2. Carefully fill in 2/3 of the tank with solution.
For demanding cleaning we recommend a suitable solution, this will help increase the cleaning performance.
3. Prepare a socket and connect the socket’s lines.
4. Connect lines of the generator.
Ensure the power lead of the generator and machines are securely connected and that no part of the leads is likely to come into contact with moisture.
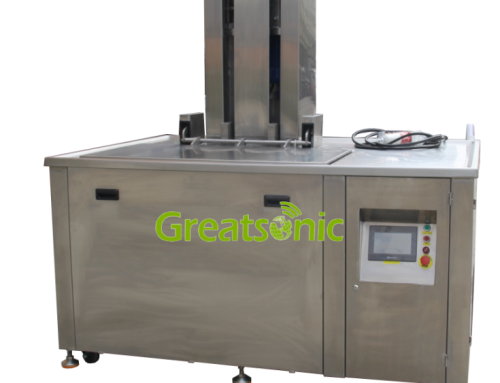
5. Place cleaning items into the basket.
Put the basket into the tank, and make sure that items are covered by the solution.
Industrial Ultrasonic Cleaner working
Press the “Switch” button on the Generator. After powering on, the left digital area will display “—OFF, 0.0A”.
Press the “on/off” button, the screen will display the machine’s frequency and start working.
Ultrasonic Power Setting
Ultrasonic cleaner’s power can be adjusted from 0-100%, 16 average levels control (Total power detach 16)
Press the “Power” button to reduce/increase the power.
Working Time Setting
Press the “ Time+” key for setting 1-60 min working time. Press “Time-” for reducing the time continuously. If need the machine continue to work, set the time as 00:00 is ok.
START-UP HEATING FUNCTION
Set temperature(Thermostat on the machine): Rotate the “Thermostat” switch to set the temperature from 30°C to 110°C, the indicator on the machine will turn on. To get the best cleaning result, the temperature of the solution we suggest is between 45-60℃.
Stop ultrasonic & heating process:
1) Press the “on/off” button(On the Generator), and the cleaner will stop working.
2) Rotate the “Thermostat” button(On the machine) to stop the heating function.
3) Press the “Switch” button to cut off the electrical power.
Empty the tank and clean both the outside and inside.